Transport belts: Difference between revisions
(→Types) |
(Completely overhauled and rewritten for 0.12.20) |
||
| Line 1: | Line 1: | ||
{{Languages}} | {{Languages}} | ||
<p> | |||
<span style="float:right; padding-left:10px; padding-right:10px;"> | |||
[[File:Transport_belts_demo.gif|300px|top]] [[File:Transport_belts_demo2.gif|300px|top]] | |||
</span> | |||
</p> | |||
'''Transport belts''' are items which are used to transport items from one place to another. There are three types of transport belts, each with their own properties. | '''Transport belts''' are items which are used to transport items from one place to another. There are three types of transport belts, each with their own properties. | ||
<br /> | |||
<br /> | |||
==Types== | ==Types== | ||
[[File:Transport_belts_speed.gif| | |||
<p> | |||
<span style="float:right; padding-left:10px; padding-right:10px;"> | |||
[[File:Transport_belts_speed.gif|top|300px]] | |||
</span> | |||
</p> | |||
{| class="wikitable" | {| class="wikitable" | ||
|- | |- | ||
| Line 20: | Line 31: | ||
|} | |} | ||
*experimental value: See [[Transport_belt_experiments|Transport belt experiments]] for more detailed information. | *experimental value: See [[Transport_belt_experiments|Transport belt experiments]] for more detailed information. | ||
<br /> | |||
<br /> | |||
<br /> | |||
== | ==Placement== | ||
<p> | |||
<span style="float:right; padding-left:10px; padding-right:10px;"> | |||
[[File:Transport_belts_notplace.gif|300px|top]] [[File:Transport_belts_doplace.gif|300px|top]] [[File:Transport_belts_replace.gif|300px|top]] | |||
</span> | |||
</p> | |||
* Do not place transport belts by moving the mouse | |||
* Instead just move your character | |||
* You can change the direction of a transport belt by overbuilding it | |||
* You can change the direction of a transport belt by pressing "r" while mousovering it | |||
* You can upgrade a transport belt by overbuilding it with an other type | |||
<br /> | |||
<br /> | |||
<br /> | |||
<br /> | |||
<br /> | |||
<br /> | |||
<br /> | |||
==Production Layouts== | |||
{| class="wikitable" | |||
|- | |||
! scope="col" | Design | |||
! scope="col" | Input | |||
== | ! scope="col" | Output | ||
|- | |||
| [[File:Transport_belt_layout1.jpg|top|400px]] || NA || NA | |||
|} | |||
= | |||
[[File: | |||
[[File: | ==Belt Management== | ||
===Merging and un-merging=== | |||
Belts have [[Transport belts/Belt lane|two lanes]] that can be used for transporting. This allows for either a double flow of one material, or with some careful setup, transporting two different materials on the same belt. Mixed belts can be benificial for smelting ore, or producing items with a lot of ingridients such as te science pack 3. | |||
Un-merging a mixed belt is fairly easy too, since a underground belt will block half of your a belt. So there is no reason to be afraid of mixed belts at all.<br /> | |||
[[File:Transport_belts_merge.gif|300px|top]] [[File:Transport_belts_unmerge.gif|300px|top]] | |||
=== | ===Balancing the belts=== | ||
Sometime you will find one side of a belt more empty than the other. In this care rebalancing the belt can be helpfull.<br /> | |||
[[File:Transport_belts_balance1.gif|300px|top]] [[File:Transport_belts_balance2.gif|300px|top]] | |||
[[File: | |||
===Speed, Density and Throughput: About finding the bottlenecks=== | ===Speed, Density and Throughput: About finding the bottlenecks=== | ||
Maximising the throughput is importent, since it will keep your belts efficient. Therefor we need to introduce some definitions: | |||
* '''Speed | * '''Speed | ||
: How fast does a belt move | : How fast does a belt move. | ||
* '''Density | * '''Density | ||
: How tight are the items put | : How tight are the items put on the belts. | ||
* '''Throughput | * '''Throughput | ||
: This is speed * density. | : This is speed * density. It describes how many items pass by in a given time. | ||
So there are two opportunities to enhance the throughput: | |||
* ''More density'' | |||
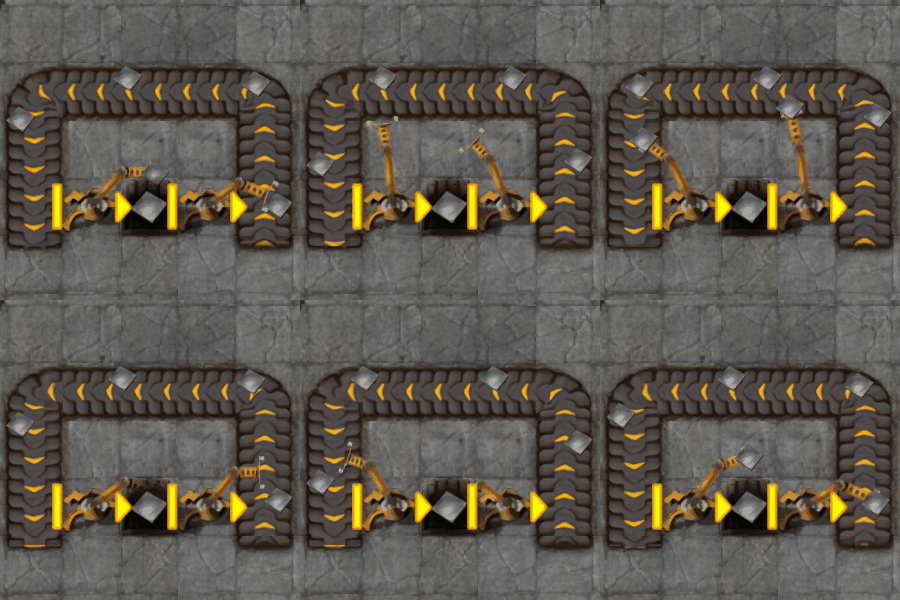
Sometimes items have little spaces next to each other that aren't big enought for other items to fit in. In this case reordering the items can still increase the density. This can be done by temporarly increasing the belt speed on a single tile or by merging 2 lanes with an inserter.<br /> | |||
[[File:Transport_belts_density.gif|top|300px]] | |||
* ''More speed'' | |||
If your belts already are at max. density you can still upgrade your speed with better belts. But first you have to find the bottleneck. | |||
The bottleneck can be seen quite easy, if there is a part of a belt, where the items sometimes stop or don't move (or don't move fast) at maximum density and suddenly they come to a point, where this "stop and go" releases itself and they run free and are not so tight on the belt. This is in most cases the exact place, where you need to optimize your belts. | |||
==Moving other Entities: About highways, advanced defences and moving boxes== | |||
Moving fast can be essential to defend alien attacks in time. Running on a belt will increase or decrease the movement speed of the player accordingly to the belts speed. That is why building a belt towards your defences can be benificial. <br /><br /> | |||
However the player is not the only unit that can be moved by transport belts. Also biters and spitters can be moved. This can be abused to improve your defence. Firstly biters will have a harder time to reach your walls when placing express transport belt infront of them. Secondly spitters can be moved closer to your walls. That way more turrets can attack a single spitter at once. <br /><br /> | |||
Another usefull usage are cars on transport belts. Cars have an inventory and can be filled by inserters. So they can be used as moving boxes on belt. This has several advantages: Firstly the throughput of the beltboxed is amazingly high, secondly the inserter stack size bonus does apply here and make inserters more effective.<br /><br /> | |||
[[File:Transport_belts_movement.gif|300px|top]] [[File:Transport_belts_defence.jpg|300px|top]] [[File:Transport_belts_carboxes.gif|400px|top]] | |||
==See also== | ==See also== | ||
Revision as of 11:39, 18 December 2015
Transport belts are items which are used to transport items from one place to another. There are three types of transport belts, each with their own properties.
Types
| Type | Max. throughput (Items per game-second) | Speed (Tiles per game-second) | Max. density (Items per tile) | Required technologies |
|---|---|---|---|---|
| Basic transport belt | 13.393* | 1.875* | 7.144* | none |
| Fast transport belt | 26.786* | 3.749* | 7.144* | Logistics 2 |
| Express transport belt | 40.179* | 5.624* | 7.144* | Logistics 3 |
*experimental value: See Transport belt experiments for more detailed information.
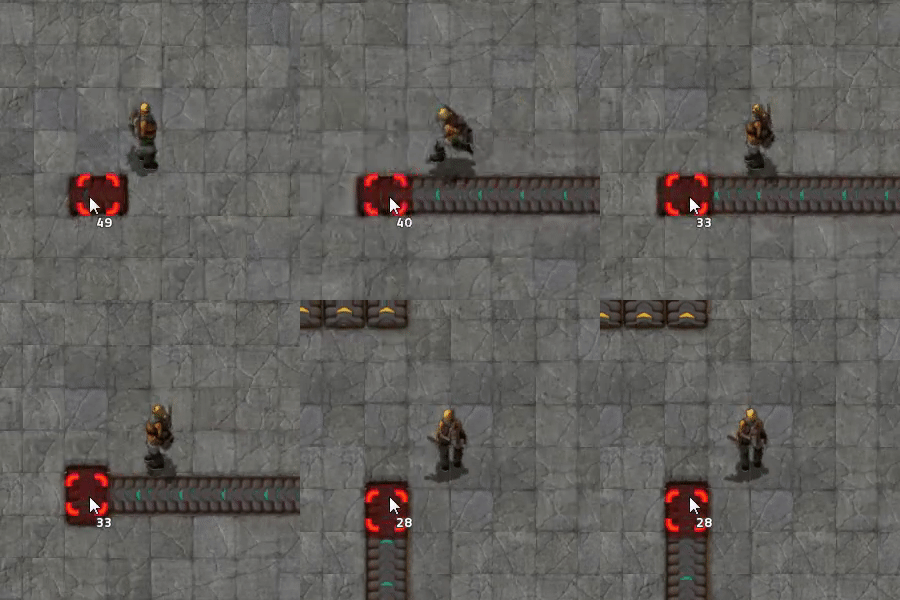
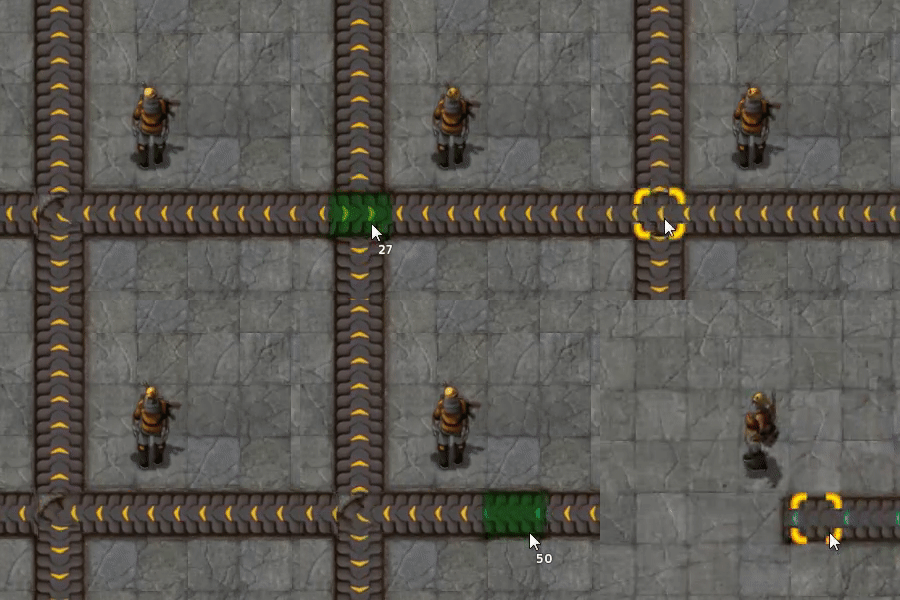
Placement
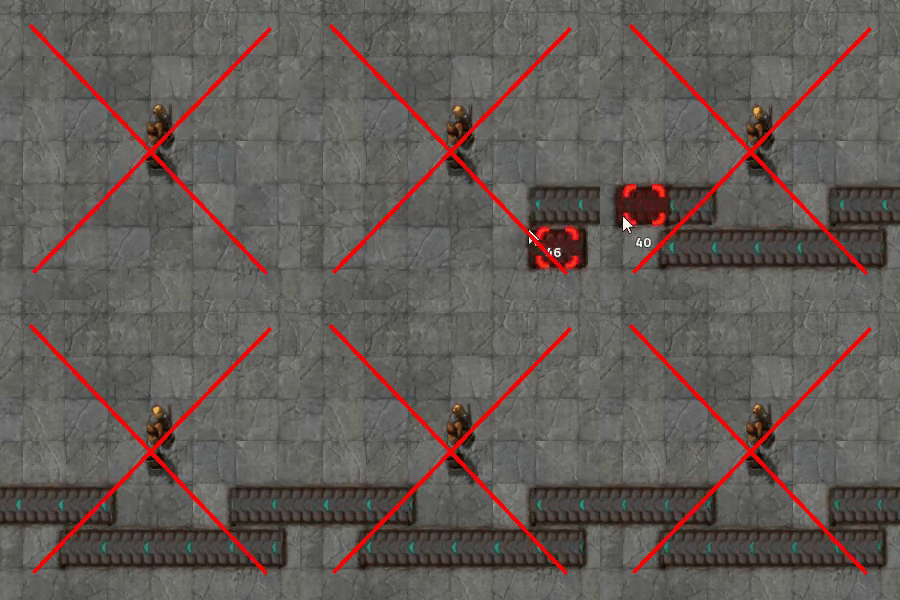
- Do not place transport belts by moving the mouse
- Instead just move your character
- You can change the direction of a transport belt by overbuilding it
- You can change the direction of a transport belt by pressing "r" while mousovering it
- You can upgrade a transport belt by overbuilding it with an other type
Production Layouts
| Design | Input | Output |
|---|---|---|
| File:Transport belt layout1.jpg | NA | NA |
Belt Management
Merging and un-merging
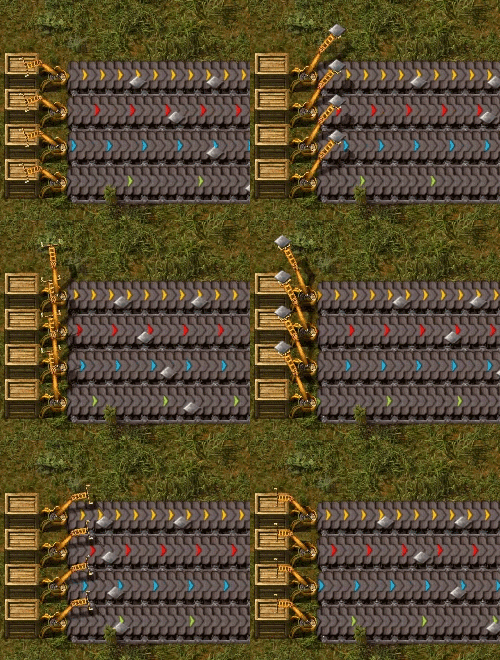
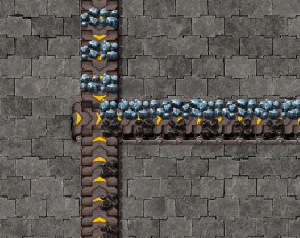
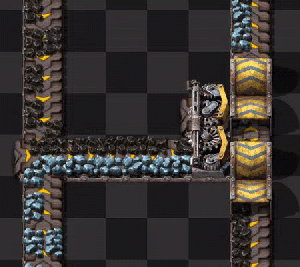
Belts have two lanes that can be used for transporting. This allows for either a double flow of one material, or with some careful setup, transporting two different materials on the same belt. Mixed belts can be benificial for smelting ore, or producing items with a lot of ingridients such as te science pack 3.
Un-merging a mixed belt is fairly easy too, since a underground belt will block half of your a belt. So there is no reason to be afraid of mixed belts at all.
Balancing the belts
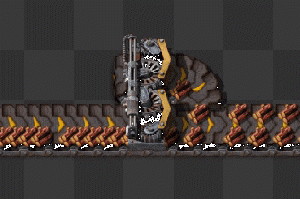
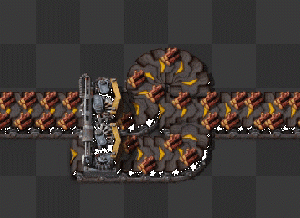
Sometime you will find one side of a belt more empty than the other. In this care rebalancing the belt can be helpfull.
Speed, Density and Throughput: About finding the bottlenecks
Maximising the throughput is importent, since it will keep your belts efficient. Therefor we need to introduce some definitions:
- Speed
- How fast does a belt move.
- Density
- How tight are the items put on the belts.
- Throughput
- This is speed * density. It describes how many items pass by in a given time.
So there are two opportunities to enhance the throughput:
- More density
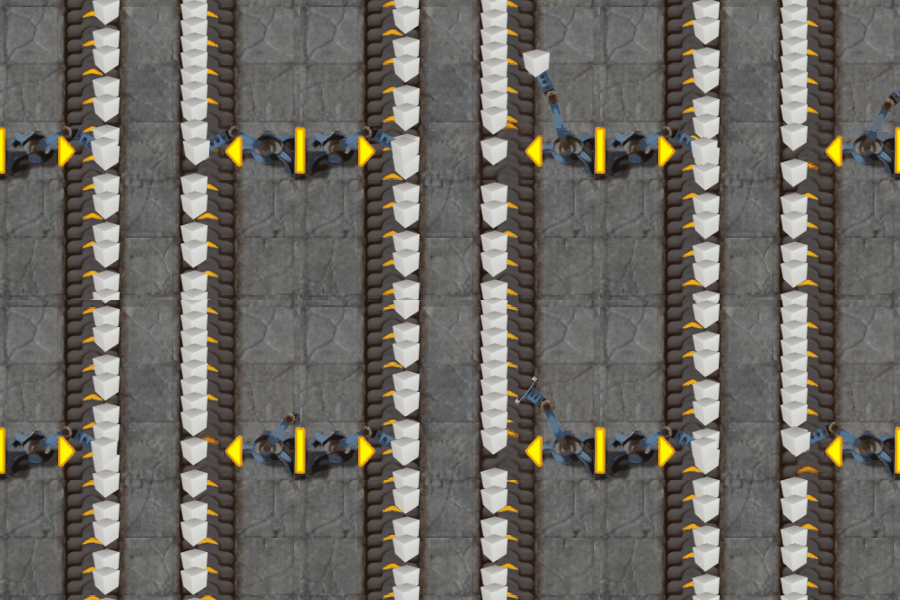
Sometimes items have little spaces next to each other that aren't big enought for other items to fit in. In this case reordering the items can still increase the density. This can be done by temporarly increasing the belt speed on a single tile or by merging 2 lanes with an inserter.
- More speed
If your belts already are at max. density you can still upgrade your speed with better belts. But first you have to find the bottleneck. The bottleneck can be seen quite easy, if there is a part of a belt, where the items sometimes stop or don't move (or don't move fast) at maximum density and suddenly they come to a point, where this "stop and go" releases itself and they run free and are not so tight on the belt. This is in most cases the exact place, where you need to optimize your belts.
Moving other Entities: About highways, advanced defences and moving boxes
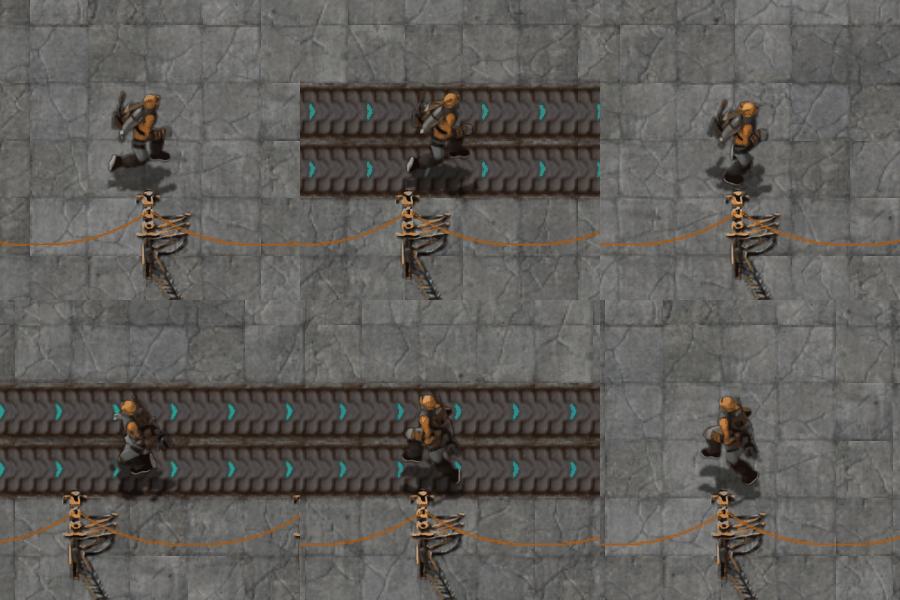
Moving fast can be essential to defend alien attacks in time. Running on a belt will increase or decrease the movement speed of the player accordingly to the belts speed. That is why building a belt towards your defences can be benificial.
However the player is not the only unit that can be moved by transport belts. Also biters and spitters can be moved. This can be abused to improve your defence. Firstly biters will have a harder time to reach your walls when placing express transport belt infront of them. Secondly spitters can be moved closer to your walls. That way more turrets can attack a single spitter at once.
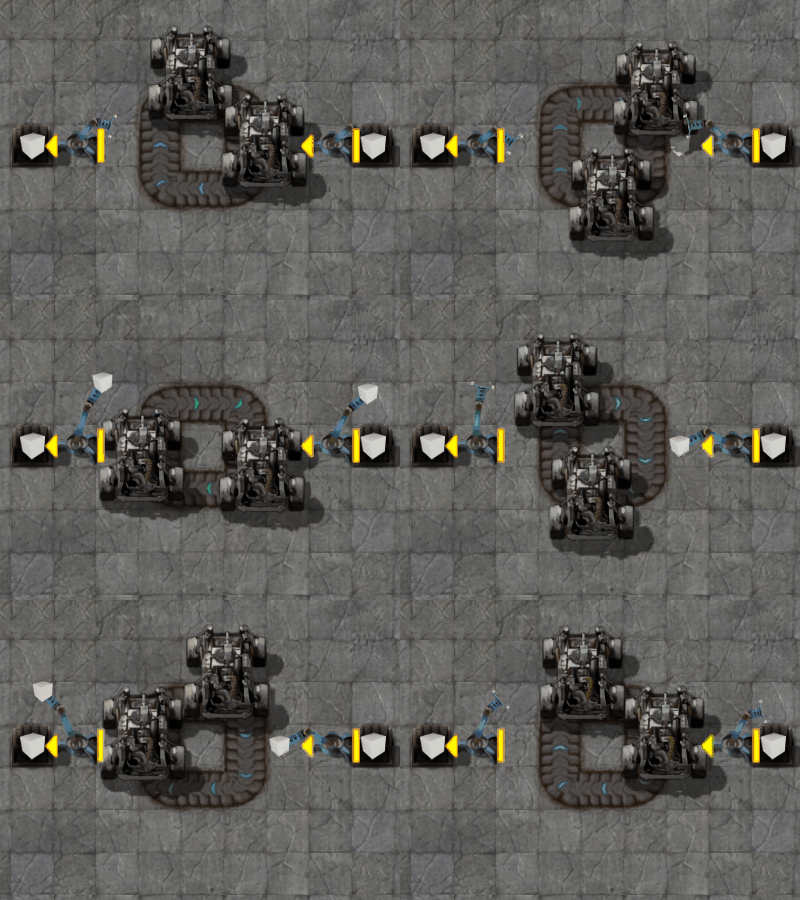
Another usefull usage are cars on transport belts. Cars have an inventory and can be filled by inserters. So they can be used as moving boxes on belt. This has several advantages: Firstly the throughput of the beltboxed is amazingly high, secondly the inserter stack size bonus does apply here and make inserters more effective.
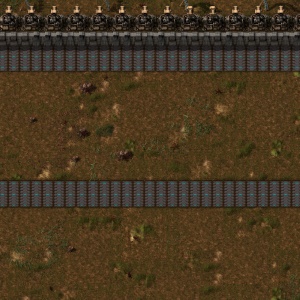
See also
- Transport network
- Transport
- Crafting network
- Logistic network
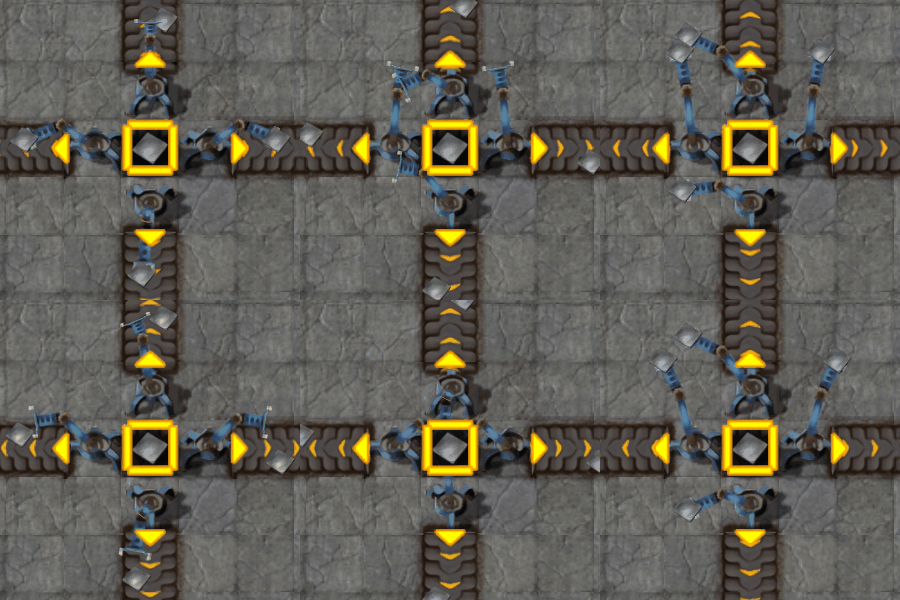
- Intersection with 4 belts from every side
- Transport belts/Transport other entities: even the car can be transported with belts.
- Why do belts not require power?: Some reasons...
- Transport belts/Speedup Walking: Walk/run in belt direction add the speed of the belt to your own.
- Transport belts/Defense: Use the Express belt to slow down the enemies
- Transport belts/Physics
- Transport belts/Turns
- Transport belts/Blocking items
- Transport belts/Side insert
- Transport belt Optimising
- Transport belts/Side insert
- Throughput and bottlenecks.
- Speed, Distance, Throughput, Compression
- Tutorial for Belt Speed, Density and Throughput
- Transport belts/Belt lane for more about usage of the two lanes of a belt.
- Transport belt Optimising
- Transport belts/Turns for details about turns.
- Transport belt Optimising about other ways to speed up this bottleneck.
- Testing fast belt corners (interesting video)
