Tutorial:Quick start guide/zh: Difference between revisions
Jerrycheng (talk | contribs) (→资源) |
Jerrycheng (talk | contribs) (→资源) |
||
| Line 91: | Line 91: | ||
如果起始点附近缺少任何一种资源,量太少或是距离太远了,建议按下Esc键然后点击“重开游戏”。 | 如果起始点附近缺少任何一种资源,量太少或是距离太远了,建议按下Esc键然后点击“重开游戏”。 | ||
之后我们还需要: | |||
* [[Water/zh|水]] | * [[Water/zh|水]] | ||
* [[Oil field/zh|原油]] | * [[Oil field/zh|原油]] | ||
Revision as of 12:41, 22 April 2015
游戏开始
你刚安装好Factorio,通过了教程任务。接下来该干什么呢?不要急请看下去。
开始你的游戏
进入游戏后你会看到主菜单。
左键单击“开始游戏”,然后单击“新游戏”,出现地图生成引擎窗口。默认设置适合新手开始游戏。
地图生成
你可以按照自已的意愿去设置地图生成引擎,一些选项会使游戏变得简单,而其它则会令其变得困难。
每种资源以及虫巢各有三个设置,分别是生成率,尺寸以及资源含量。
生成率,尺寸以及资源含量决定了地图生成时其出现频率,占地面积以及每单位格内含量。
建议新手将铁矿,铜矿,石头,煤炭,原油的生成率设置到密集,资源含量设置到富饶。这样可以保证在距离起始点不远的范围内有充足的资源,而不必在游戏初期为了资源四处奔波。同时将虫巢的尺寸设置到非常小以减少威胁。
如果你想了解更多关于地图生成引擎的信息。请阅读此条目。
和平模式
如果你只想享受建设工厂的乐趣而不被虫族打扰的话,可以勾选“和平模式”。虫族还是会存在但永远不会主动攻击。
一旦按下生成地图,将会被放到一个新的世界,等待着你的卓越表现。
实用的快捷键
快捷键设置可以在“选项”菜单中的“控制”页面找到,但由于许多人不会去看,于是附上了必要的快捷键操作设置。
| 快捷键 | 效果 |
|---|---|
| ALT | 显示详情 |
| T | 打开科研界面 |
| Q | 下一个武器或清除光标 |
| R | 旋转实体 |
| Z | 丢在地面上 |
| F | 捡起附近地上的物品 |
| SPACE | 射击目标 |
| C | 强制攻击 |
| ENTER[回车] | 进入或退出交通工具 |
| X | 更改工具栏 |
| P | 打开生产面板 |
| M | 打开世界地图 |
| G | 与火车连接 |
| V | 与火车断开 |
| SHIFT+SPACE | 暂停游戏 |
| Tilde[~] | 打开控制台 |
| SHIFT+LMB | 转移一组物品 |
| CTRL+LMB | 转移全部物品 |
| MiddleMouse | 设置物品筛选 |
| SHIFT+RMB | 对半分物品 |
| CTRL+LMB | 快捷提取全部物品 |
如果你想了解更多关于快捷键的信息。请阅读此条目。
游戏初始
资源
确保在起始点附近有以下四种资源:
如果起始点附近缺少任何一种资源,量太少或是距离太远了,建议按下Esc键然后点击“重开游戏”。
之后我们还需要:
以上六种资源是异星工厂的基础,所有的物品都由它们制成。
Craft a pickaxe
Go towards whichever resource you choose and hold right click. This will give you a small progress bar at the bottom, which when complete will give you some of those resources. You might find that chopping trees and mining ores manually is really slow. If you look at your character, he's just bashing at them with a stick! How about a tool upgrade? Press E to open up your inventory and the crafting menu. Select the gears tab up the top for "Production", and left click on the iron pickaxe in there. This will increase your mining speed by a significant amount.
Placing mines and furnaces
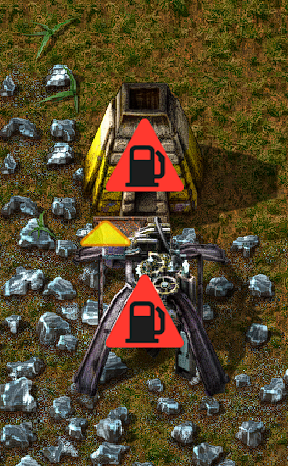
You begin your journey with a humble Stone Furnace and a Burner Mining Drill. What do we do with these? First of all, you should place your drill on the edge of an iron deposit, facing towards a Furnace.
You can change the direction of the Drill by either pressing "R" before you place it, or after by hovering over it with the mouse and pressing "R". The little yellow arrow shows where the mined iron ore will come out. You want the Furnace to be in front of that arrow, so that the drill automatically inputs into the furnace. You should get something like this.
Remember to press "ALT" to activate the detailed view. This makes it easier to see what is inputting what into where.
Feeding with fuel
Great! But what does the big flashing red symbol mean? Well, there isn't any Fuel in the drill or the furnace.
You can power them with either Wood or Coal. To collect them, you'll need to cut trees or mine coal, with right click.
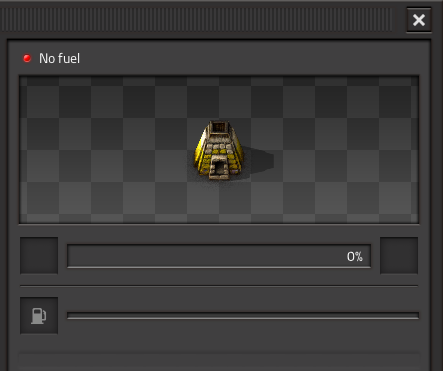
Assuming that you now have a pickaxe and have found some fuel, it's about time we went and made the furnace and drill start working for you. By left clicking on the furnace or drill, their interface will open.
To place your fuel into the machine, simply left click it to pick it up and left click again to put it into the fuel slot.
If you want to split a stack in half, so that your furnace and drill can both get half of your fuel, right click the stack in your inventory and then place it in the fuel slot. Easy as that! Now both of your machines should be running and automatically making you some iron plates! Try also CTRL-left click: this will feed half of the stack you're holding into the machine.
You can use an identical setup for copper ore to get copper plates.
Production upgrade!
You know what's better than iron plates? More iron plates! Why don't we go ahead and get them?
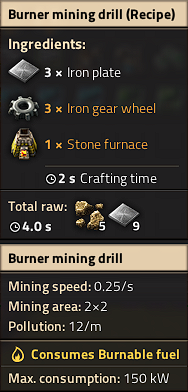
You'll need to craft some extra drills. If you hover over drill in the crafting menu, you'll see two lists of materials. The first list shows the components needed to make the drill; the second one at the very bottom of the tooltip window shows the raw resources needed to craft it. Unlike other games, you do not need to create the pre-requisite items before you select the item you want to make. All required items are crafted for you. You can see this process happening on the bottom left of the screen, where your Crafting Queue is. You can also queue up more crafting orders, as long as you have the necessary materials on you, and they'll get carried out one after the other.
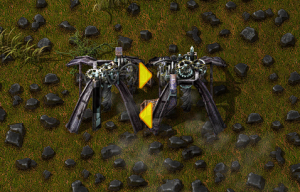
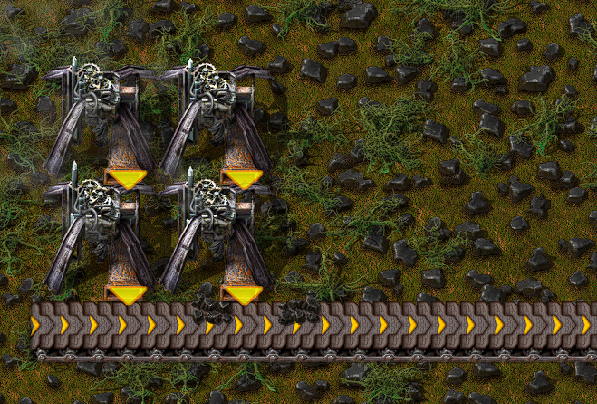
Now that you can afford some extra drill and furnaces, you should automate the acquisition of both coal and stone. These are easy to set up and work essentially the same as the iron setup. For Coal, you can have two drills facing each other: they'll run on the coal they get fed by their partner and you can collect the surplus.
Don't forget that you can collect resources from machines without opening their inventories, with CTRL-LMB. You might also want to activate the detailed view, by pressing the ALT key once. You can deactivate it by pressing ALT again.
And for stone you can have the drill output directly into a chest.
Once this is all setup up, you will probably want to make it go faster. Set up more drills with furnaces for the iron, setup some for copper and maybe lay more drills on the coal to cover for the extra coal production. In the early game, the most used resource is iron, so you'll probably need twice as many miners on iron than copper, if not more. But expect copper to become more and more important the more you mess with electricity and electronics!
More automation
Ok great, so now you have 4 or so furnaces making iron, a couple making copper, some stone production and a good amount of coal production. But you know what really sucks? having to run the coal around to all your other machines, right? Well let's automate that too! Conveyor belts and inserters are the way of the future! The output slots on the drill can also output onto conveyor belts to be transported to your other machines.
Now that we can take our coal to other places with no effort, we just need a way to input the coal into those machine.
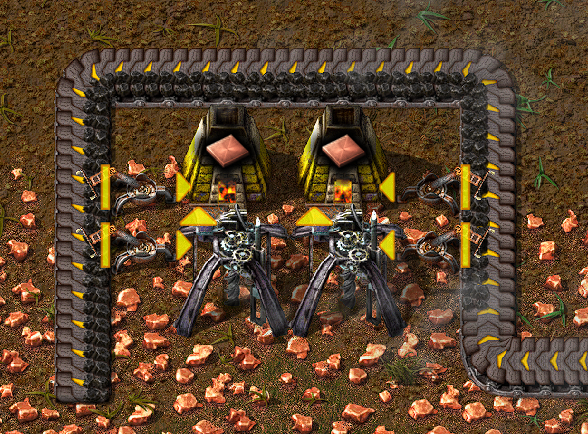
This is what Inserters are for. You can use burner inserters as a cheap way to move items from anything to anything. You can move object from the ground, chests, machines and put them wherever you want.
Burner Inserters themselves require coal to run though, which makes this a little counter intuitive to have to fuel them instead of the machines you are trying to fuel anyway.
Here is a small example of inserters working. Notice that the flat line is where the inserters will pick up from, and the arrow is where they will place the item.
Ok great, so now we know how to automatically mine things and then how to automatically move things from one place to another, and then to place said items into machine or out of machines.
Next up we want to get some electricity so that we can have inserters that run of that instead of fuel.
Electrical power
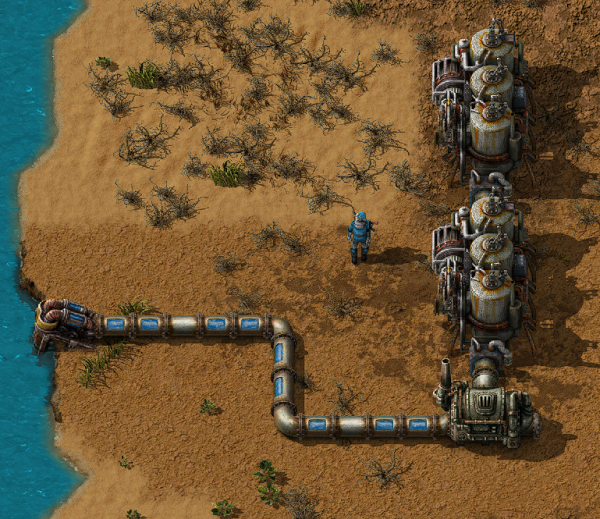
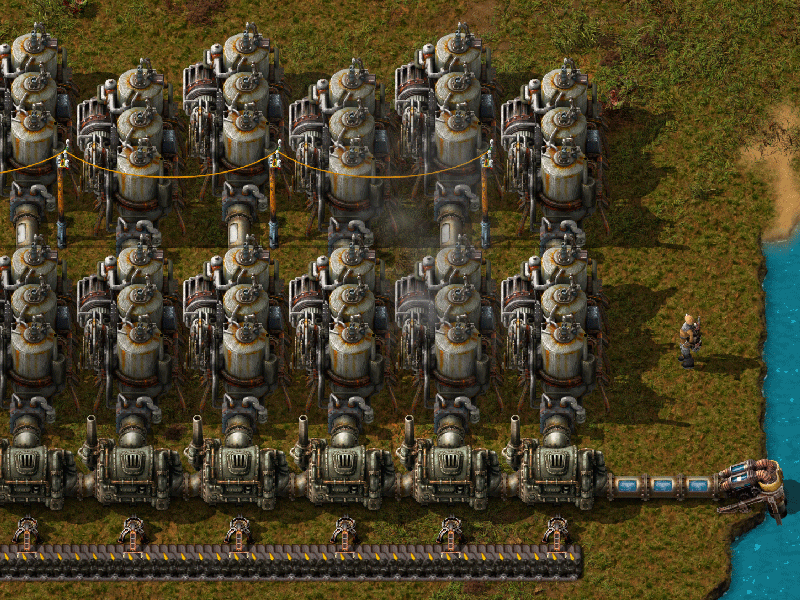
Electricity. This is where things start to get interesting. We're going to need a single offshore pump, some boilers and a steam turbine. These are really simple to set up, they just require twenty-some iron plates and 5 stone per boiler. The offshore pump goes in the water and needs no power to run. From there, you can either use pipes to transport the water to boilers, or you can run boilers straight from the pump. Boilers allow water to flow through them just like pipes do, except they also heat the water along the way and cannot be used as corners. The pipes or the boilers then connect to the middle of the short side of the steam engine. Make sure you connect it in the right place or it won't work. Moreover, steam engines allow water to run through them just like boilers, so you can have as many turbines as you want connected in a row. Here is a small example.
Now you need to use power poles to carry power to your machines. Place some down so that their coverage area (the blue square) overlaps each turbine in at least one square. If they are going to connect, the machines that use power will be shown with a blue outline around their edges.
If the turbine is producing power but nothing is using it, it'll show a yellow flashing icon: right now it's showing because we don't have electric machines yet!
Your power setup can look however you want it to look.
A great method is to have a line of boilers that supply a certain amount of turbines with hot water, and then you can use transport belts to bring coal to them for inserters to place inside them so that your electricity is always running.
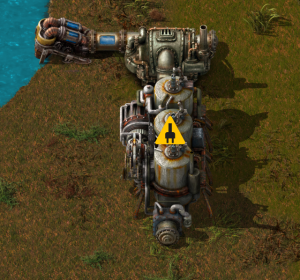
The most often used setup is 1 offshore pump, 14 boilers and 10 steam engines. This is due to this being the best ratio between the 3 of them. 1 pump produces enough water for 10 engine, and the 14 boilers is sufficient to heat the water for that many. The example above is easily expanded into this efficient design. But hey, this game is all about experimentation and for you to be able to find ways to do your own things! So get to it, and show off your own unique designs!
Using this power is as simple as creating a machine that runs on electricity and placing a power pole close enough to it that the blue square touches the machine, just like you have to do at the power plant with the engines. Make sure that there is a line of power poles that actually connect to your power plant.
Now that power is explained, we need to increase our resource production.
However, if you want detailed info on your power production/consumption, you can check the Detailed Electric Network Info, opened by clicking on any powerpole.
