Belt transport system: Difference between revisions
(→Expert) |
|||
| Line 188: | Line 188: | ||
* [http://www.factorioforums.com/forum/viewtopic.php?f=5&t=4596 Two belts in one tile-line] | * [http://www.factorioforums.com/forum/viewtopic.php?f=5&t=4596 Two belts in one tile-line] | ||
* [http://www.factorioforums.com/forum/viewtopic.php?f=18&t=3211&p=23636#p23636 Join two lanes into one] | * [http://www.factorioforums.com/forum/viewtopic.php?f=18&t=3211&p=23636#p23636 Join two lanes into one] | ||
* [[Splitters/Priority]]: splitter prefers one side for joining in most cases. | |||
* [[Splitters/When is a faster splitter needed?]]: a basic splitter can keep up with the input of one fast belt, if the two output belts are connected and empty. | |||
* See example usages [http://www.factorioforums.com/forum/viewtopic.php?f=18&t=1808 in this thread]. | |||
* [[Splitters/Weighted splitters]]: Use splitter to achive special ratios on the outputs [[File:Factorio ratios.jpg|thumb|256px|[[Splitters/Weighted splitters]]]] | |||
** [[Splitters/Cascading]]: Use Cascading to fill storages only, when not needed otherwise | |||
* [[Splitters/Balancer]]: use the two lanes of a belt. | |||
* [[Splitters/Joining]]: more explained | |||
* [[Splitters/Wormhole Trick]]: an empty splitter transports items faster, they disappears on input side and dive up on output side, "jumping" over about half a [[Tile|tile]]. It is questionable, how this behavior could be used. A good usage is to make something like a "micro-buffer", or a "spread-buffer" with that, because a line of 10 splitters can store about 60 items - a half stack - and the first items are delivered very fast, but the last items have the normal belt speed to move through the splitters; so the items are spread on the belts. See also '''[http://www.factorioforums.com/forum/viewtopic.php?f=8&t=9068 Splitters as the bus - The Splitter Bus] | |||
* [[Splitters/Constructions]]: Examples of using. | |||
{{MachineNav}} | {{MachineNav}} | ||
[[Category: Transport network]] [[Category: Belt transport system]] | [[Category: Transport network]] [[Category: Belt transport system]] | ||
Revision as of 10:27, 22 March 2016
The belt transport system is the first transport system available in Factorio, and together with Trains and Logistics Robots make up the backbone of any Factorio base. Transport belts (sometimes called conveyors) are used to transport Items. Belts don't need power for transportation. This is one of the many Mysteries of the Factorio World.
Beginner
| Transport belts | Underground belts | Splitters | Speed (tiles/second) | Needed research |
|---|---|---|---|---|
| Basic transport belt | Basic underground belt | Basic splitter | ~1.8 | Logistics 1 Basic underground belt and Basic splitter |
| Fast transport belt | Fast underground belt | Fast splitter | ~3.6 | Logistics 2 |
| Express transport belt | Express underground belt | Express splitter | ~5.6 | Logistics 3 |
Transport belts are just moving items. To take/put items onto a belt use Inserters.
Differences between the belt tiers
The main difference between different tiers of belt is the speed at which they operate. As belt is upgraded from yellow to red to blue, it gets faster and is able to move more items. The Physics page has some technical information on exact values for each tier of transport belt.
Merging and un-merging
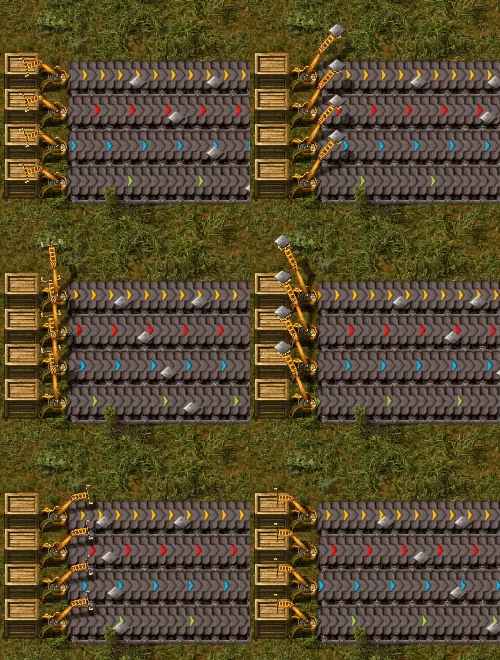
Belts have two lanes that can be used for transporting. This allows for either a double flow of one material, or with some careful setup, transporting two different materials on the same belt. Mixed belts can be beneficial for smelting ore, or producing items with a lot of ingredients such as the science pack 3. Un-merging a mixed belt is fairly easy too, since an underground belt will block half of your a belt. So there is no reason to be afraid of mixed belts at all.
Balancing belts
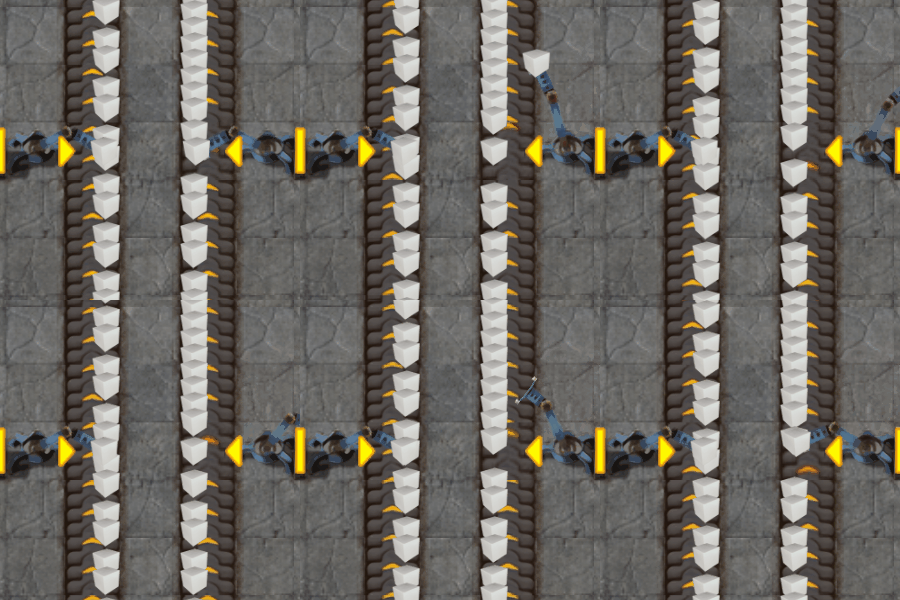
Sometimes you will find one side of a belt more empty than the other. In this care rebalancing the belt can be helpful.
The left design only rebalances equally if one side of the belt is empty while the right version always balances equally.
Advanced
Speed, Density and Throughput: About finding bottlenecks
Maximizing the throughput is important, since it will keep your belts efficient. Therefore we need to introduce some definitions:
- Speed
- How fast does a belt move.
- Density
- How tight are the items put on the belts.
- Throughput
- This is speed * density. It describes how many items pass by in a given time.
So there are two opportunities to enhance the throughput:
- More density
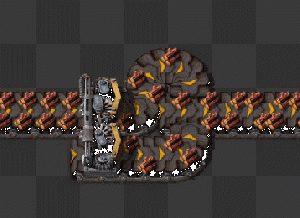
- Sometimes items have little spaces next to each other that aren't big enough for other items to fit in. In this case reordering the items can still increase the density. This can be done by temporary increasing the belt speed on a single tile or by merging 2 lanes with an inserter.
- More speed
- In case your belts already are at maximum density you can still upgrade your speed with better belts. But first you have to find the bottleneck.
The bottleneck can be seen quite easy, if there is a part of a belt, where the items sometimes stop or don't move (or don't move fast) at maximum density and suddenly they come to a point, where this 'stop and go' releases itself and they run free and are not so tight on the belt. This is in most cases the exact place, where you need to optimize your belts.
Belts
| Type | Max. throughput (Items per game-second) | Speed (Tiles per game-second) | Max. density (Items per tile) | Required technologies |
|---|---|---|---|---|
| Basic transport belt | 13.393* | 1.875* | 7.143* | none |
| Fast transport belt | 26.786* | 3.750* | 7.143* | Logistics 2 |
| Express transport belt | 40.179* | 5.625* | 7.143* | Logistics 3 |
* experimental value: See Transport belt experiments for more detailed information.
Splitters
| Type | Speed (tiles per Game-second) |
|---|---|
| Splitter | 1.875 |
| Fast Splitter | 3.750 |
| Express Splitter | 5.625 |
File:Mpstark-1vrKld4.gif File:Mpstark-A60nIbv.gif File:Mpstark-JNNFTUC.gif
The behavior of splitters looks simple at first glance. But they are not that simple. Splitters have an astonishing amount of uses.
- splitters have two input-belt-sides and two output-belt-sides on which you can connect any belt or underground belt
- splitters don't shuffle the lanes on the belts; items on the left input belt lane don't change the side to the right lane (and vice versa).
- Splitting
- if two output-belts are connected, then every input-item is put alternated on one of the two output-belts. Or in other words: it is guaranteed, that the inputed items are output in a ratio of 50% on each belt.
- if one of the output belt lanes are full, then it tries to output on the other output belt. This is useful to fill belts.
- a lot more details about the exact splitting can be found here http://www.factorioforums.com/forum/viewtopic.php?f=18&t=3765 and here http://www.factorioforums.com/forum/viewtopic.php?f=11&t=511&p=3019 !
- Joining File:T&T Belt04.jpgFeeding from side is only a good use, if you want to make a queue - e. g. for mines, some output-bufferFile:T&T Belt03.jpgBetter: The capacity of the output belt is fully used.
- splitters can be used to join two belts into one. This has a much higher throughput than only side-inserting.
- as with splitting, the belt lanes aren't mixed up.
- Use faster splitter if you want to feed into a faster belt, because otherwise your splitter is the bottleneck!
Underground belts
| belt-type | factor speed | speed (tiles/sec) |
|---|---|---|
| Basic underground belt | 1 | 1.875 |
| Fast underground belt | 2 | 3.75 |
| Express underground belt | 3 | 5.625 |
Underground belts can be used to cross different flows of items without interfering. They move items like a normal belt.
- You can cross any number of entities and all types of ground, like water, swamps, etc. (input and output of course over water)
- You can cross other underground stuff (any number of underground belts or underground pipes). They won't be mixed.
- For the connection only the endpoints (entry-side and exit-side) are relevant.
- The maximum distance underground is 5 tiles.
- An underground belt pair with a blocked output stores up to 20 items. (Per lane? Untested!)
- If you mine an underground belt, up to 20 items are recovered, the remaining items in the underground are placed into your inventory.
- The half of the underground belt tile with a belt can accept input from the side. The other half (with a tunnel entrance) blocks incoming items.
This last fact is important, because it can be used to do some tricks.
Moving other Entities: About highways, advanced defenses and moving boxes
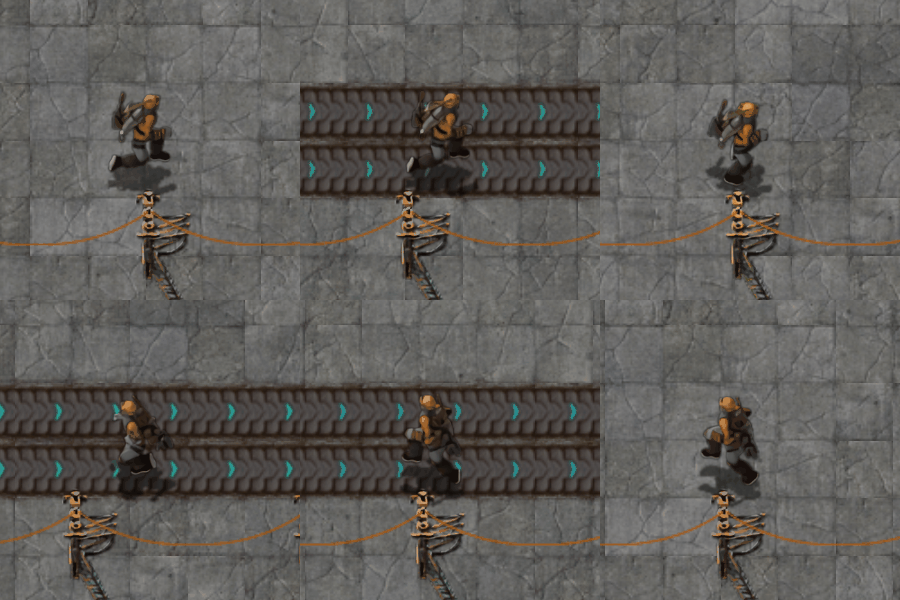
Moving fast can be essential to defend alien attacks in time. Running on a belt will increase or decrease the movement speed of the player accordingly to the belts speed. That is why building a belt towards your defenses can be beneficial.
However, the player is not the only unit that can be moved by transport belts. Also, biters and spitters can be moved. This can be abused to improve your defense. Firstly biters will have a harder time to reach your walls when placing express transport belt in front of them. Secondly spitters can be moved closer to your walls. That way more turrets can attack a single spitter at once.
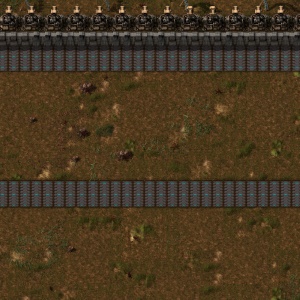
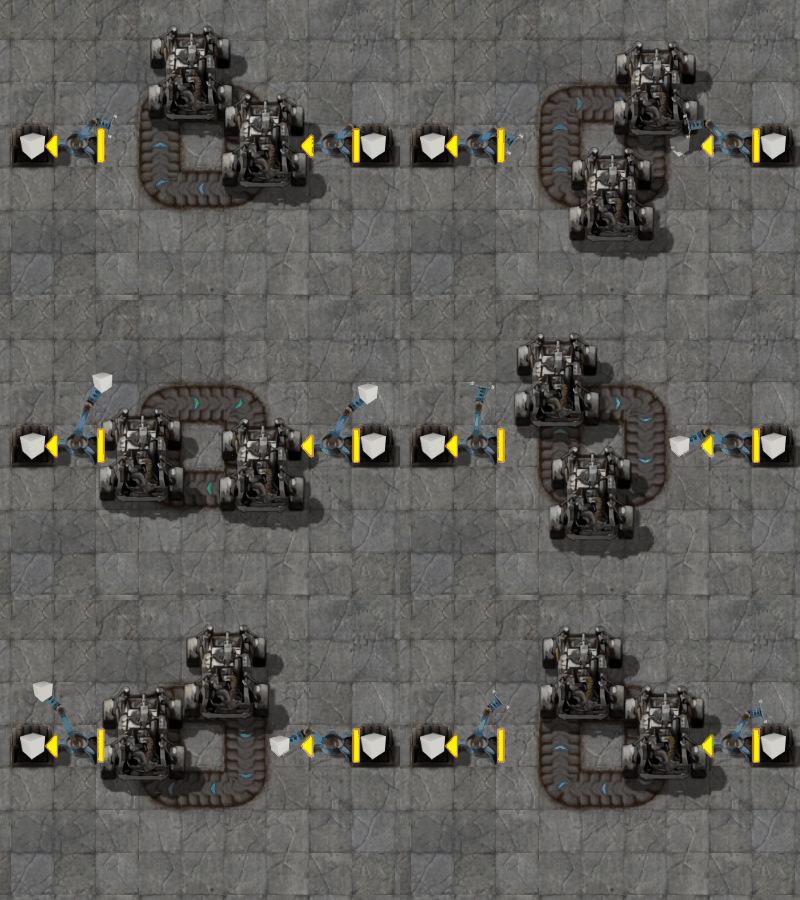
Another useful usage are cars on transport belts. Cars have an inventory and can be filled by inserters. So they can be used as moving boxes on belt. This has several advantages: Firstly the throughput of the belt-car-boxes is amazingly high, secondly the inserter stack size bonus does apply here and make inserters more effective.
Expert
- Transport network
- Transport
- Crafting network
- Logistic network
- Transport network
- Transport
- Crafting network
- Logistic network
- Intersection with 4 belts from every side
- Transport belts/Transport other entities: even the car can be transported with belts.
- Why do belts not require power?: Some reasons...
- Transport belts/Speedup Walking: Walk/run in belt direction add the speed of the belt to your own.
- Transport belts/Defense: Use the Express belt to slow down the enemies
- Transport belts/Physics
- Transport belts/Turns
- Transport belts/Blocking items
- Transport belts/Side insert
- Transport belt Optimising
- Transport belts/Side insert
- Throughput and bottlenecks.
- Speed, Distance, Throughput, Compression
- Tutorial for Belt Speed, Density and Throughput
- Transport belts/Belt lane for more about usage of the two lanes of a belt.
- Transport belt Optimising
- Transport belts/Turns for details about turns.
- Transport belt Optimising about other ways to speed up this bottleneck.
- Testing fast belt corners (interesting video)
- Underground belts/More uses
- Three belts in two tile-lines
- Two belts in one tile-line
- Join two lanes into one
- Splitters/Priority: splitter prefers one side for joining in most cases.
- Splitters/When is a faster splitter needed?: a basic splitter can keep up with the input of one fast belt, if the two output belts are connected and empty.
- See example usages in this thread.
- Splitters/Weighted splitters: Use splitter to achive special ratios on the outputs
- Splitters/Cascading: Use Cascading to fill storages only, when not needed otherwise
- Splitters/Balancer: use the two lanes of a belt.
- Splitters/Joining: more explained
- Splitters/Wormhole Trick: an empty splitter transports items faster, they disappears on input side and dive up on output side, "jumping" over about half a tile. It is questionable, how this behavior could be used. A good usage is to make something like a "micro-buffer", or a "spread-buffer" with that, because a line of 10 splitters can store about 60 items - a half stack - and the first items are delivered very fast, but the last items have the normal belt speed to move through the splitters; so the items are spread on the belts. See also Splitters as the bus - The Splitter Bus
- Splitters/Constructions: Examples of using.
